


WHAT IS AZURE WEB APPLICATIONS?
Azure web application is a software application that runs on web servers and is accessed through web browsers over the internet or an intranet. It allows users to interact with the application by using a web browser as the client interface. Web applications can range from simple websites that display static content to complex systems that offer dynamic and interactive functionality.
Web applications are built using programming languages such as HTML, CSS, and JavaScript for the frontend, and languages like Python, Ruby, Java, or PHP for the backend. They can offer a wide range of functionalities, such as online shopping, social media, email services, productivity tools, and more. These applications are designed to be accessible from various devices, including desktop computers, laptops, tablets, and smartphones.
What is Azure CLI?
The Azure Command-Line Interface [Azure CLI] is a set of commands used to manage and interact with resources in Microsoft Azure. It provides a command-line interface to manage various Azure services, including Virtual Machines, Storage, Networking, and more. The Azure CLI allows you to automate tasks, create and manage resources, deploy applications, and perform various administrative operations within your Azure environment, all through the command line.
A more detailed practical approach to creating Azure Web Application Using Azure CLI is well explained below as we cover these key vital steps. [Let’s navigate].
1). Create a Resource Group.
2). Create an Azure Apps Service Plan.
3). Create a Web App.
4). Launch the created Web App.
Let’s dwell on the basic prerequisite needed first before going through the steps listed above for the creation of Azure Web Application Using Azure CLI.
PREREQUISITE
1). Your PC with online access.
2). Microsoft Azure account - If you don't have an Azure paid subscription, create a Free Account before you begin.
3). Download and Install Azure CLI version 2.51.0 on Windows on your PC.
32-bit MSI Windows PC, azcliprod.blob.core.windows.net/msi/azure-c...
64-bit MSI Windows PC, azcliprod.blob.core.windows.net/msi/azure-c...
Follow the below steps to create an Azure Web Application.
STEP 1: CREATE A LINUX VIRTUAL MACHINE
Login to your local machine [PC].
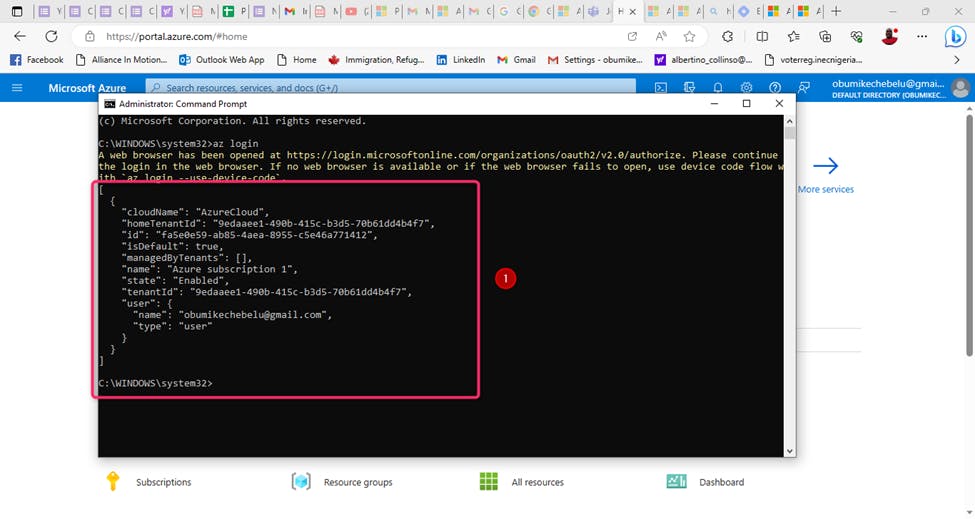
1). Launch your local machine [PC] Power shell as administrator and run the “az login” to connect to your Azure [a Password will be requested for access/confirmation].
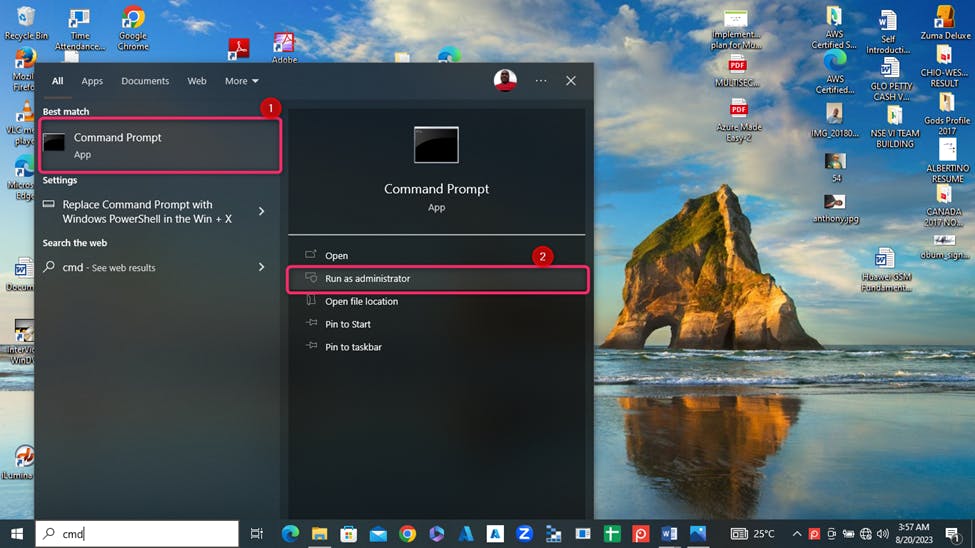
2). On your local machine PC] Power shell, input the command “az login”
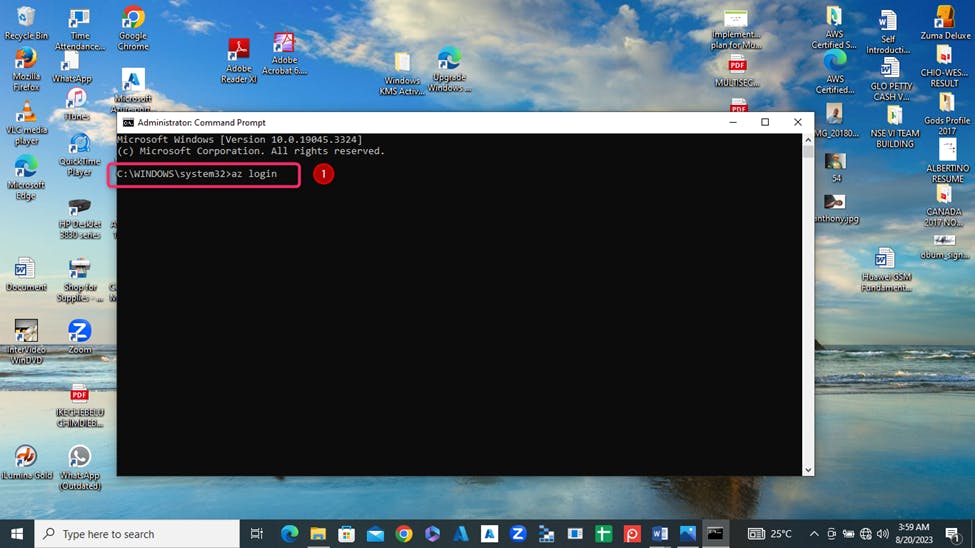
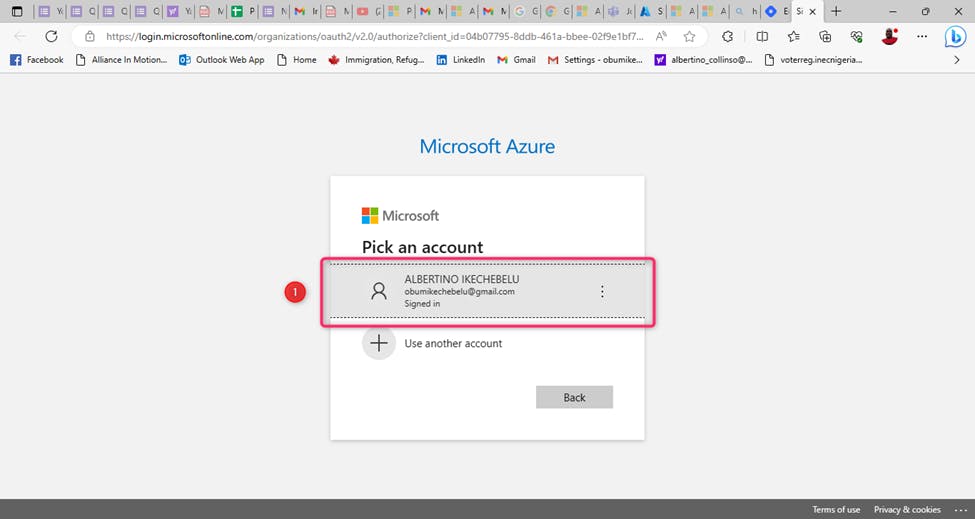
3). You will be redirected to your Windows browser Azure portal for authentication.

4). Authentication request for you to select the Azure account for connection. Select the right Azure account.
5). Azure account successfully granted [Do not close this window to proceed with VM connection]. Go back to your local machine [PC] Power shell to run further commands to connect to the VM.
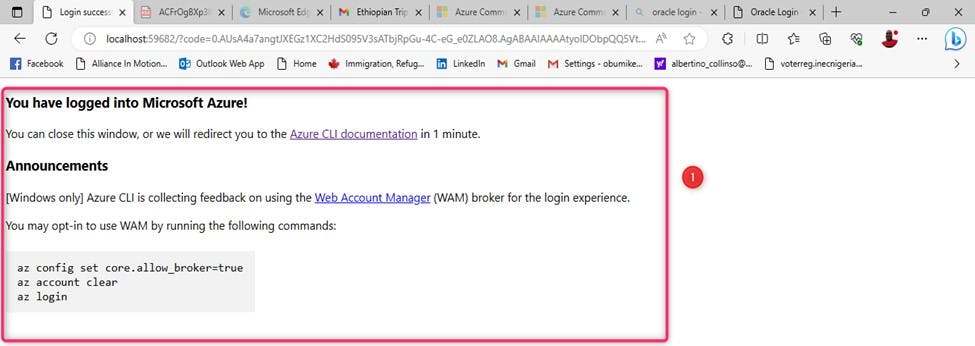
6). Your Local machine [PC] Power Shell is now connected to your Azure account and ready for further commands.
STEP 1: CREATE A RESOURCE GROUP.
The next step is to create your resource group that will accommodate your App Service Plan and Web App.
1). Run this command:
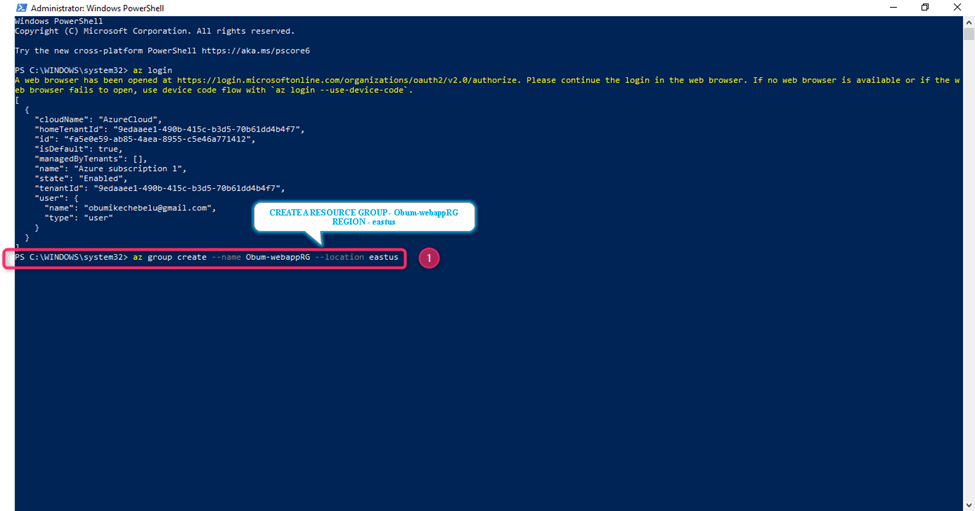
az group create --name (name your resource group) --location (input the location you want your resource to be).
az group create --name Obum-webappRG --location eastus
NOTE
A). Ensure to leave a space after each word.
B). Once you've inputted the command, Press enter.
A.
B.
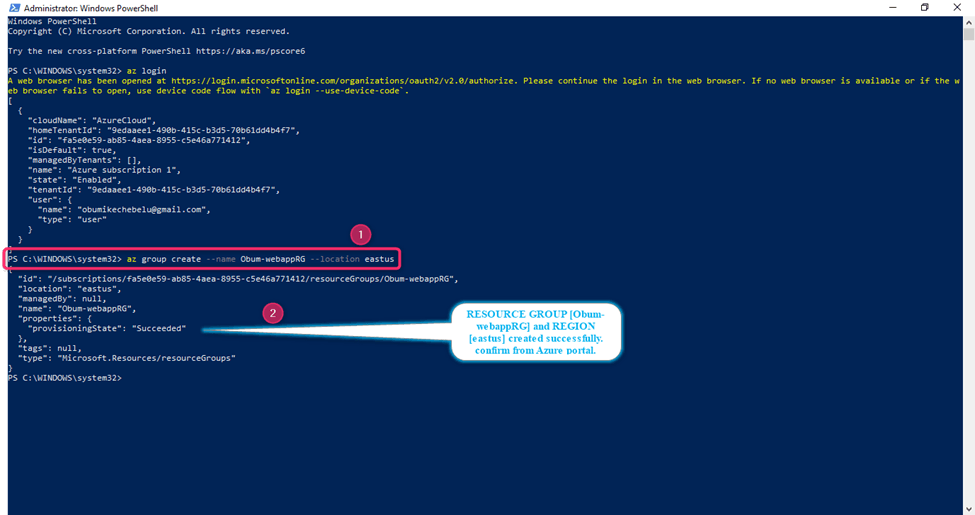
C. Resource Group – Obum-webappRG successfully created. Verify on your Azure portal.

STEP 2: CREATE AZURE APP SERVICE PLAN.
The next step is to create your App service plan, which can be termed an operating system that hosts your web application. It provides the infrastructure and resources needed to run and scale your apps
1). Run this command:
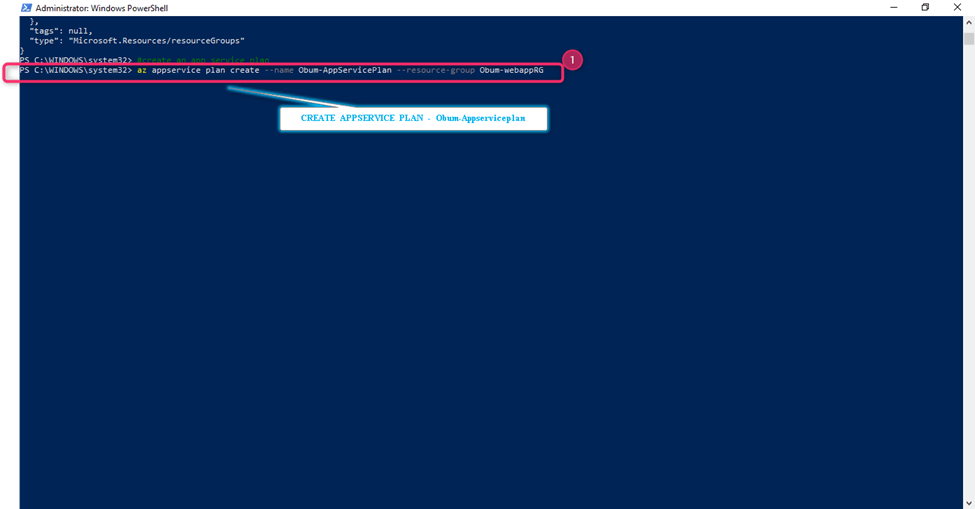
az appservice plan create --name <name your app service plan> --resource-group <name of your resource group>
az appservice plan create --name Obum-AppServicePlan --resource-group Obum-webappRG
A.
B.
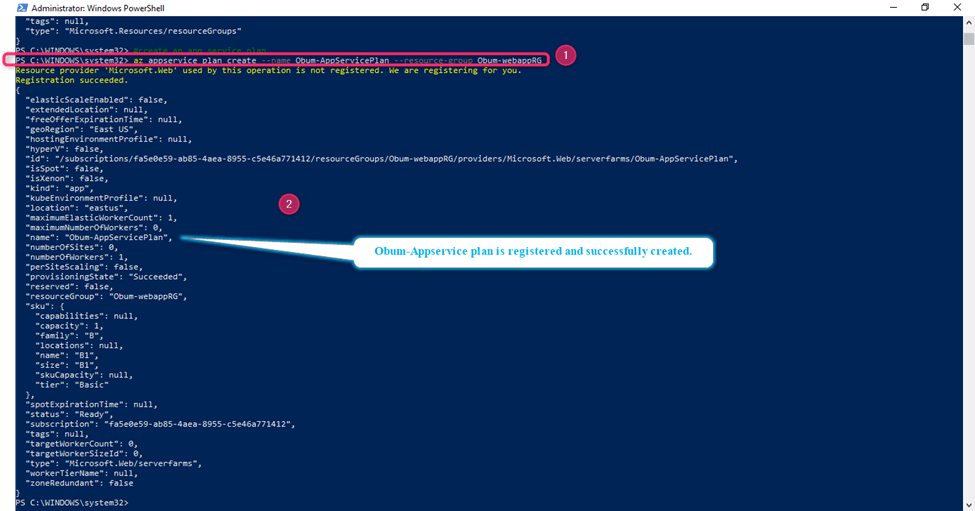
C. App Service Plan – Obum-Appserviceplan successfully created. Verify on your Azure portal.
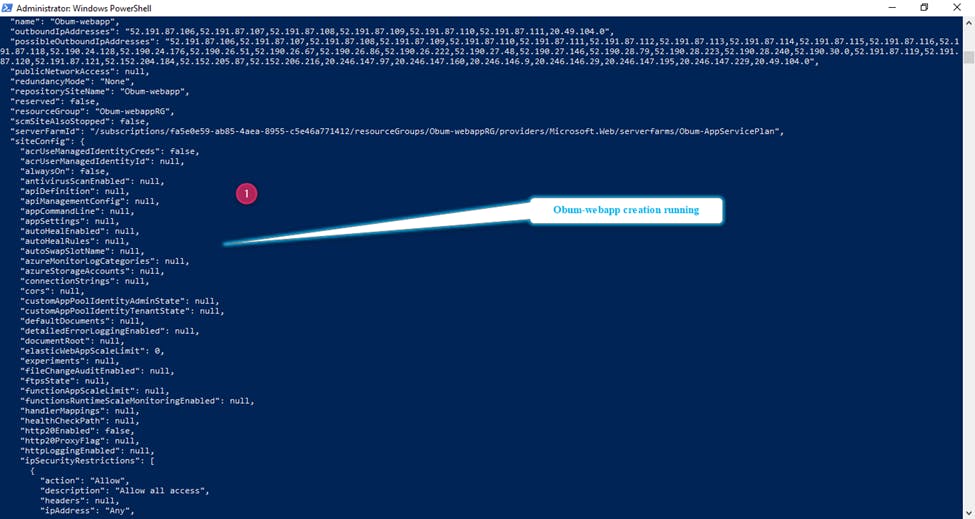
STEP 3: CREATE AZURE WEB APP.
Once the App service plan has been created successfully, Then, Web application can now be created.
1). Run this command:
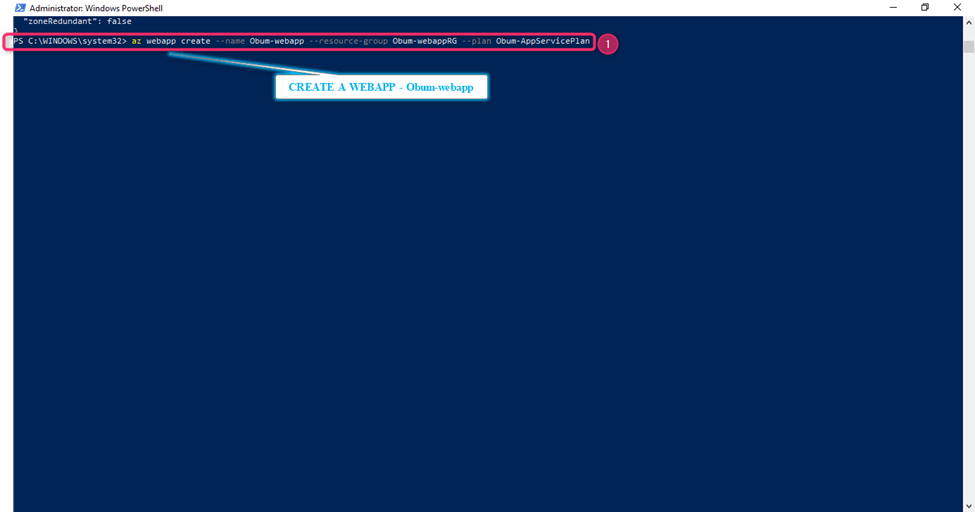
az webapp create --name <name your web app> --resource-group <resource group name> --plan <name of your plan>
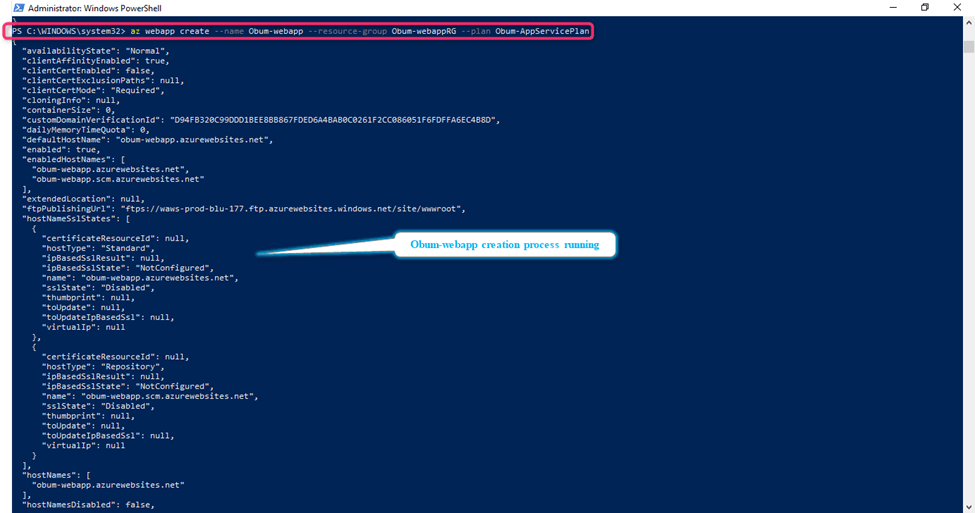
az webapp create --name Obum-webapp --resource-group Obum-webappRG --plan Obum-AppServicePlan
A.
B.
C.
D.
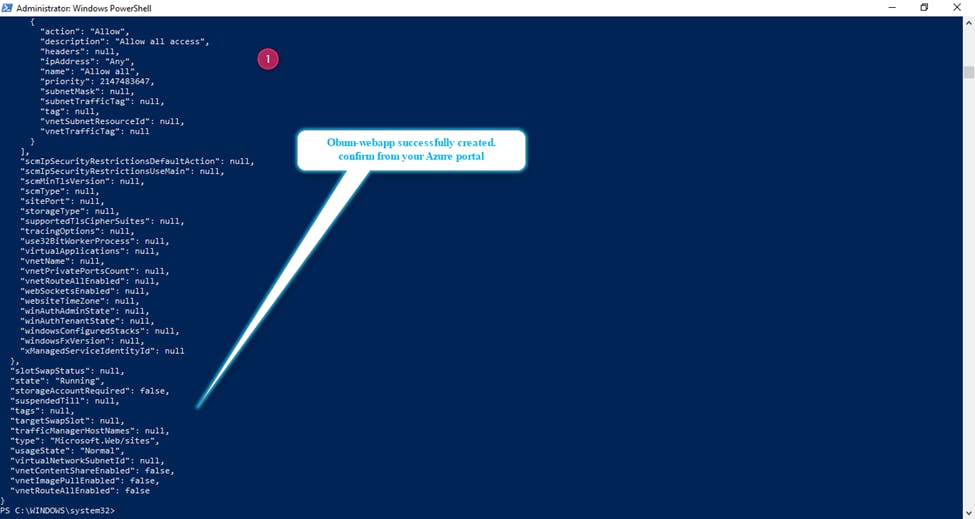
E. Web App – Obum-webapp successfully created. Verify on your Azure portal.
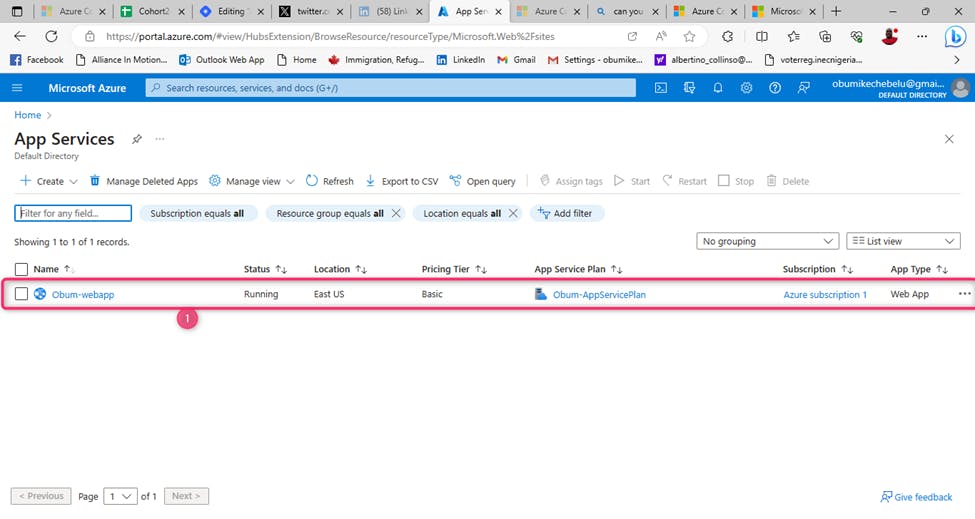
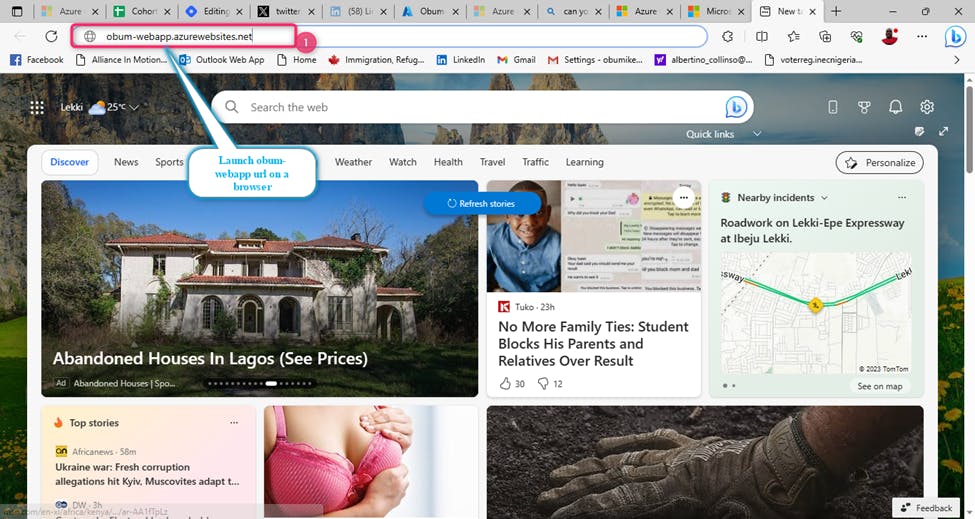
STEP 3: LAUNCH AZURE WEB APP.
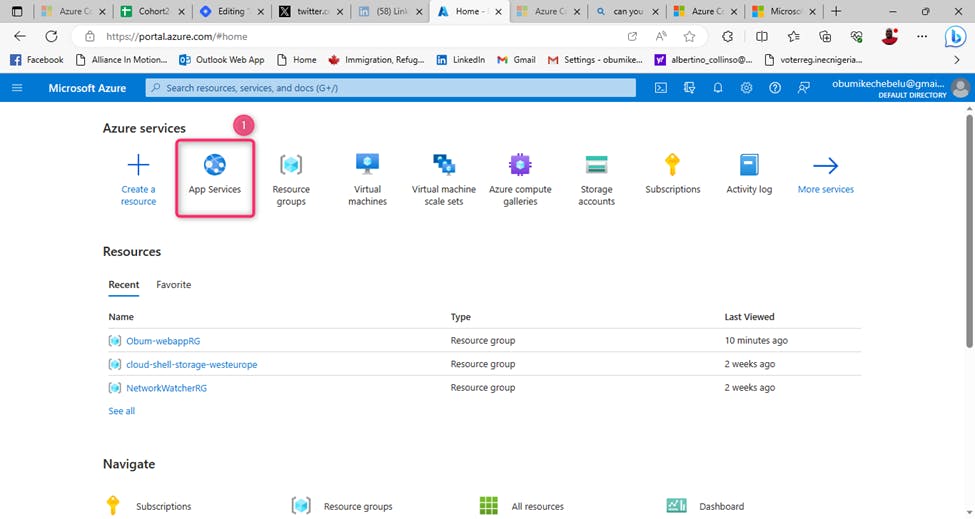
From the Azure portal, navigate to the Web App created and Copy the URL of Your Web App. Then, launch it in any browser.
A.

B
C.

Welcome!! You are connected to your Azure Web App – Obum-webapp
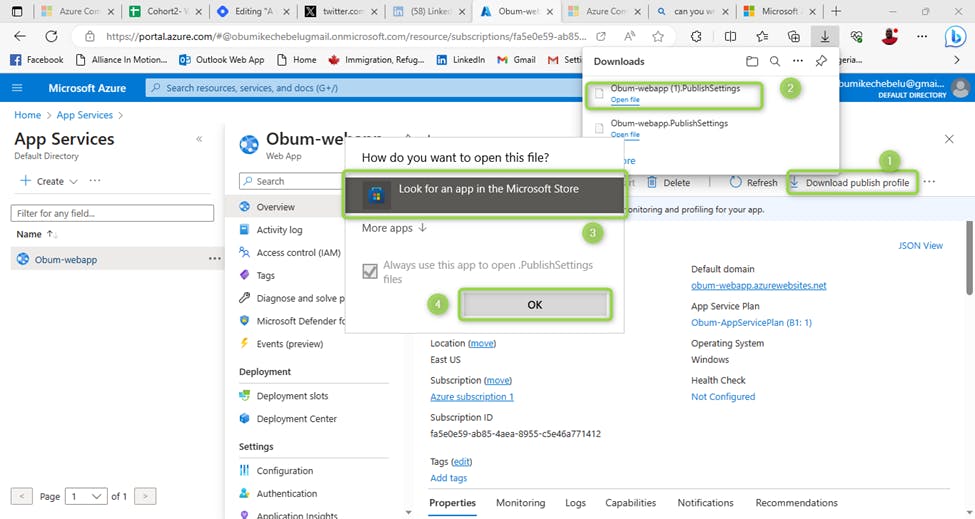
D. On Obum-webapp overview page, Select Download Publish Profile, Download, Save and Open.
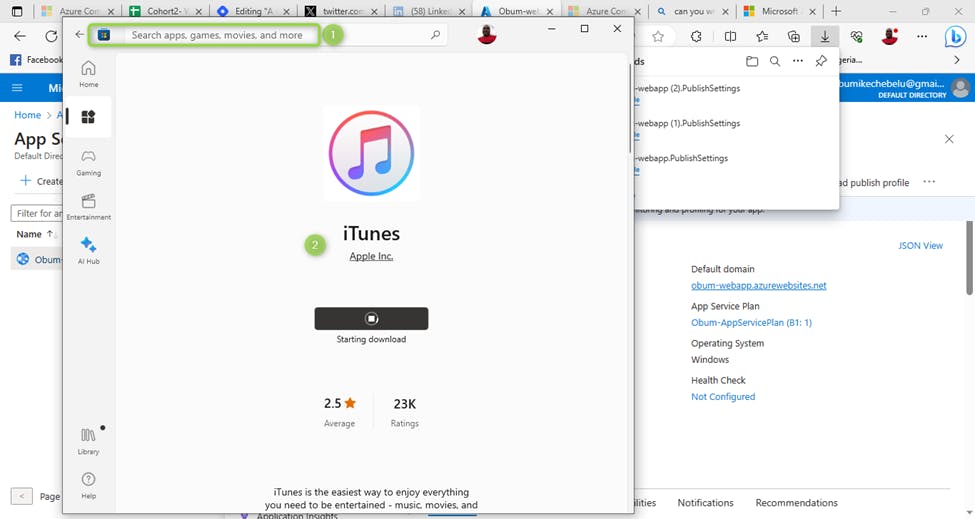
E. Download an app from the Microsoft Play Store and install – iTunes.
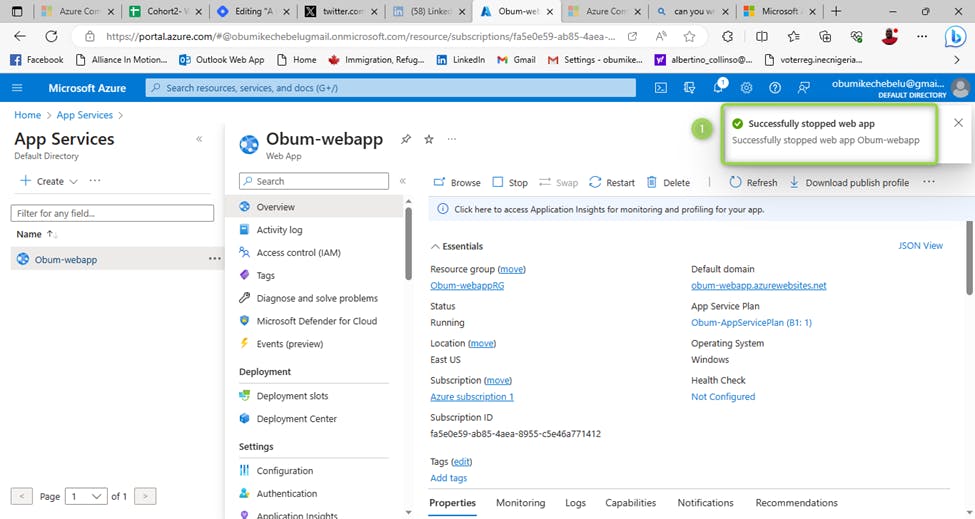
F. STOP your Web app using the Azure portal, Select Obum-webapp, Then, overview and Stop.
SUMMARY:
We were able to successfully explore the following Azure Cloud journey and I am confident that you can navigate on your own through the above guide made easy in the areas below;
1). Create a Resource Group.
2). Create an Azure Apps Service Plan.
3). Create a Web App.
4). Launch the created Web App.
Thank You!...